
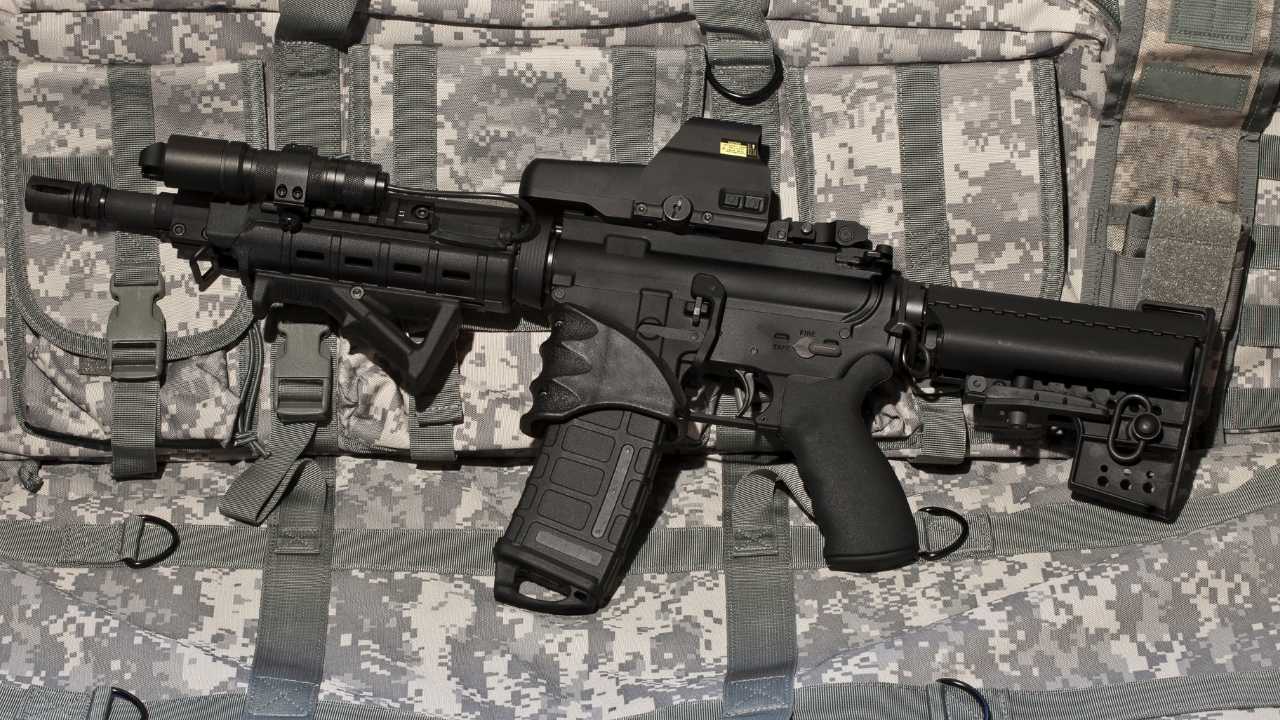
For the proper functioning of a firearm, it is essential to clean it properly. In the manufacturing factory, they use many oils and preservatives to protect and maintain a rifle. For this reason, it is essential to clean them before even starting to use them properly. Also, while using your gun, you need to clean it whenever exposed to water, dust, sand, or any harsh weather conditions, such as fog or humidity. One such popular AR-15 rifle is the Smith and Wesson M&P15 rifle.
The following article will explain in detail How to clean Smith and Wesson m&p 15.
Precautions to follow before starting cleaning Smith and Wesson M&P 15 Rifle
Before starting the cleaning process, there are some precautions you need to follow for proper cleaning and also for your safety. Below listed are some precautions:
- Wear safety glasses
You need to wear your safety glasses before starting the cleaning process to protect your eyes from exposure to the material.
- Clean in a ventilated room
Whenever you decide to clean your firearm, do it in a ventilated area. Never attempt to clean a rifle in a closed room because exposure to harmful substances can cause serious diseases.
- Get specifically designed cleaning supplies
Every firearm has different cleaning supplies. You can get these cleaning supplies from your firearm dealer. Some dealers also provide these supplies in the form of cleaning kits for the convenience of the customer. You should also follow the instructions that come with the cleaning supplies.
- Use the manual to disassemble the rifle
In this case, you cannot be your guide. You must read the manual and clearly understand and follow its instructions for disassembling your firearm.
- Make sure to unload the rifle
Unloading is a precaution that is equally important for all rifles. Before cleaning the gun, make sure to unload it. Check the magazine and the chamber and make sure that there is no bullet in it. Cleaning a firearm with a bullet in it can cause you severe damage.
Tools needed to clean
Before heading to the actual cleaning process, you need to learn about the tools you will need to clean the rifle properly. They should be part of your cleaning kit.
- Bore brush
There are different sizes available for bore brushes. You will need the bore brush for cleaning the bore and chamber. You can use the one made of brass for cleaning your M&P15 rifle. It is safe as it does not cause any damage to the bore like the stainless steel brush.
- Cleaning solvent
A good quality cleaning solvent is essential for adequately cleaning your rifle. Make sure to use the solvent specified for your rifle’s use.
- Gun lubricant
Gun lubricant or oil is essential for keeping the guns safe and free from corrosion. Even if you are not using your gun regularly and keeping it stored, you need to keep it oiled.
- Cotton cleaning patches and attachment
Use cotton patches to apply the solvent and the oil into the different parts of the gun. It would help if you also had an attachment for attaching the cleaning pads to the rod.
- Q-tips
You need to use Q-tips for the inner parts of the rifle where you cannot use the cotton pad or the bore brush for cleaning, applying solvent, or oil.
- Cleaning rod or a bore snake
It would help if you used a cleaning rod to thoroughly clean all the inner parts of a gun and apply solvents and lubricants on the barrel of your weapon. You can also use a bore snake for this purpose. You also need to make sure that your cleaning rod has a soft metal. Brass will do the job for you.
Step by Step process of how to clean M&P 15
After taking all the necessary precautions and understanding the tools required for cleaning the S&W m&p15 rifle, the actual cleaning process begins:
Step 1: Disassemble the Rifle
Like any other rifle, the first step to cleaning Smith and Wesson M&P 15 is to disassemble it properly. You cannot clean a gun without properly breaking it into parts. On the left side of your rifle, there are two pins. Push those pins through, and they will move down. Push those pins forward when you see them coming out from the other side of the firearm. When you pull those pins out, you will hear a loud click. With this click, you can separate the upper and the lower part of the firearm. First, start with the upper part and separate the bolt carrier group and the charging handle. It will help if you clean these parts separately.
Step 2: Soak the bolt carrier group and charging handle in the lubricant
You need to clean the bolt carrier group and the charging handle separately. Before cleaning all the other parts of the rifle, soak these two parts into the lubricant for some time. For this purpose, you will need to break down the bolt carrier group further. There is a small pin on the bolt carrier group that holds the whole thing together. Remove that pin with the help of a metal pick. After that, the firing pin will come out on its own. Then, separate the bolts. Use a spray lubricant on all these pieces and keep them soaked for some time.
Step 3: Dry clean the upper part of the rifle
Before actually using the solvent on the upper part of the rifle, take a toothbrush and dry clean the inner parts of the gun. This dry cleaning will ensure no dirt particles or loose deposits remain on your rifle. You will also need to dry clean the barrel of the gun. For this purpose, attach the bore brush to the cleaning rod and run it through the gun’s barrel. By doing this, you will clean any dirt or particles present inside the barrel. Also, remember to run the brush from the back of the rifle and pull it out from the front. Repeat it several times to properly clean the barrel.
Step 4: Apply the cleaning solvent to the barrel
Slide the cleaning rod from the front side of the barrel to come out from the back. After that, apply some cleaning solvent to the cotton patch and attach it to the cleaning rod. Pull the rod back out. Pull it out in a circular motion to get as much barrel as possible. Keep repeating this process until the barrel soaks into the solvent.
Step 5: Dry clean the lower part with a toothbrush
Take the toothbrush and clean whatever loose deposits particles you see on the lower part of the gun.
Step 6: Apply the cleaning solvent to the lower parts of the rifle
The next part of cleaning the Smith and Wesson rifle is to apply the cleaning solvent on all the lower parts of the gun. Begin with applying the solvent to the lower part of the gun by using q-tip and cleaning patches. Thoroughly apply the cleaning solvent and make sure that no part is left. After cleaning with the solvent, use a towel to wipe off any excess solvent.
Step 7: Apply the oil to the lower part of the rifle
To oil, the lower part of the rifle, throw a few drops of the oil on the q-tip. Apply the oil on all the metal points of the gun. Make sure to put oil on all points that have metal-to-metal contact. Also, use the cotton patches to apply the oil on the lower part thoroughly.
Step 8: Apply the oil to the upper part
Before applying the oil to the barrel, again run a cleaning solvent patch through the rifle’s barrel in a similar manner as before. After running a solvent patch, run a dry patch in a similar manner. After this, it’s time to put oil on the upper part of the gun. For this purpose, put oil on the cotton cloth and apply it to all the areas where there is metal-to-metal contact.
Also, use a q-tip on the areas where the cotton patch cannot reach. Your Smith and Wesson M&P needs a good amount of oil to function correctly. For oiling the barrel, slide the cleaning rod from the front, attach the oiled patch to the rod when it comes out of the back. After that, pull the rod back out and this will oil the barrel. Repeat this process two to three times.
In the end, investigate if the barrel is properly oiled.
Step 9: Clean and oil the bolt carrier group and charging handle
The next step is to clean the bolt carrier group and charging handle that has been soaking in the lubricant for quite some time. Apply the cleaning solvent to the cotton patch and the q-tips and clean these two parts thoroughly. A lot of dirt and grease would come out. After cleaning all the parts with the solvent, wipe them with a towel and then oil them thoroughly. After oiling all the parts separately, assemble the bolt carrier group and oil the entire piece. You need to thoroughly oil the charging handle as well.
Step 10: Reassemble the Smith and Wesson M&P15
After you have cleaned and oiled your M&P15, the last step is to reassemble the rifle. To begin the reassembling process, take the charging handle and put it in its slot. There is a little cut-out where the charging handle can go. After that, take the bolt carrier group and make sure that it extends. After that, lay the gas block on the charging handle, and the bolt carrier group and the charging handle will slide back into its place. After assembling the parts of the upper rifle, it is time to assemble it with the lower part. For attaching the two parts, make sure that the hammer on the lower one is down and join the two pieces together. Align the corresponding parts and push the pins inside. You will hear loud clicks while reassembling also. With this, you will lock your M&P15 rifle into place.
Steps to follow after cleaning your weapon
There are some essential procedures you need to follow after you are done cleaning smith and Wesson m&p 15.
- If there is any discoloration on your firearm, do not attempt to remove it.
- Do not leave any cleaning solution or oil on the outer surface of the rifle.
- Never try to change any of the internal components of the firearm.
- Wash your hands properly after cleaning the gun.
Wrapping up
Hope this article helps you to learn cleaning m&p 15. There is a Smith and Wesson m&p 15 manual pdf available online for the users, you can also take help from that.
Lean: How To Remove Rust From A Gun
FAQS
Is brass bore brush safe to use for barrel cleaning?
Brass bore brushes are safe to clean the barrel. It does not cause any damage like the stainless steel.
Why do I need to oil my AR-15?
Oiling your AR-15 is essential for its proper functioning. It will help if you oil it while storing it as well.
What cloth should I use for cleaning the exterior of my Smith and Wesson M&P 15?
You can use any non-abrasive cloth for cleaning the exterior of your rifle. You can use a towel also.