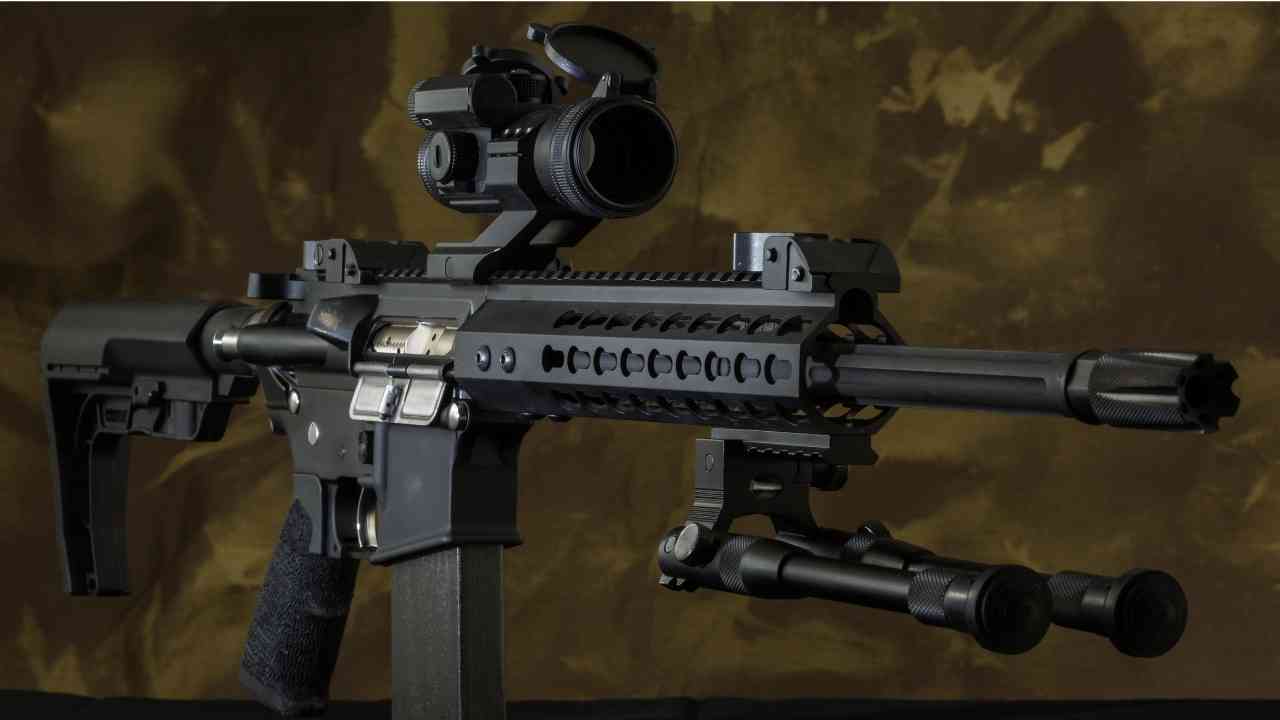
Learning how to use a laser bore sight AR 15 could prove to be one of your biggest leaps towards becoming a seasoned hunter. Knowing this very process can up a level of expertise in both: on-field performance and your theoretical hunting knowledge. (P.S. Yup. It’s a major flex!)
So, here we’ve compiled all that you would ever need to know about bore sighting. This guide will be handy for you whether you find yourself a beginner or someone with a decent amount of on-field practice. And that’s because we have covered everything from the basics of bore sighting to complete usage and installation.
So, let’s move forward without further ado!
Bore Sighting & Its Importance
For newbies, the term bore sighting may sound technical. It may probably sound more of a skill that you will have to master for hunting. But well, that isn’t the case.
Bore sighting refers to a much simpler process. It is the process of aligning the central part of your gun’s or rifle’s barrel with the sights attached to your rifle. Note that the central part of the barrel is known as the bore. And the whole technique of bore sighting may also be recognized as zeroing.
The purpose of bore sighting is to ensure accurate results. When you align the two, your bullet ends up exactly on your target. Thus, reducing the wastage of ammo, time, and money.
Fundamentally, the laser boresight uses a laser beam to illuminate the pathway of the bullet. For aiming, it covers a particular distance (from your rifle to the aim point). It’s usually a maximum of 25 yards, and the laser is visible in sunlight. You can adjust it and shoot as per your preferences.
Why is Laser Bore Sight Preferable for AR-15?
Now there may be a questioning pinning at the back of your mind; is it necessary? Can’t your AR-15 work just as efficiently without the boresight?
Well, yes, it can. You can adjust your aim manually with your eyes. Remove the bolt, look through the barrel, and adjust the sight as needed.
However, this method may not be as effective as the lasers. Plus, you won’t have to remove anything with laser bore sights every time you align the rifle for accuracy. Just place it on, and there you go! AR rifle owners won’t have to spend on it again and again.
Using Laser Bore Sight AR 15
People without the knowledge of bore sights and their mechanisms often find this simple process complex. It is to clear all these confusions that we have discussed all the fundamentals above.
Let’s dive into the core of the article now that is using laser bore sight AR 15. Doing so must come easier now than before as you’ll be able to understand the technicalities.
Also Learn: how to mount a scope on AR 15 with Front Sight
STEP 1: Unload your Weapon
Do not ever skip this step, as a loaded weapon can put you in danger. To prevent any mishap, unload your rifle or any other weapon properly.
STEP 2: Charge the Laser Bore Sight
A laser bore sight is chargeable using two different methods. Some sights use batteries, whereas some have USB ports. You can attach the provided USB cable and charge.
It is better to opt for batteries as it offers you portability. For USB cables ones, you will have to be near a power source constantly to charge.
STEP 3: Secure the Weapon
Now, you must secure the rifle against something heavy and stable. You can either use a bagful of sand or purchase special holders available in the market. Whatever you use, please ensure that the weapon doesn’t move once secured.
STEP 4: Adjust the Target Distance
After securing, take the target and hang it at a distance. The specific distance depends on you and your location. However, we recommend a minimum of 25yards between the target and you.
STEP 5: Place the Bore Sight
Once done, open up the bolt of the rifle and place the laser bore sight inside. Close the bolt, and check whether the laser dot is visible.
We highly recommend you do all of this when the sunlight isn’t too strong. It is best to do it in the early morning or evening so that the dot is as accurately visible as possible.
The laser dot must rest on the target placed before.
STEP 6: Adjust the Laser Dot
Now, this is where the work starts as you adjust the dot for precision. If the laser dot lies in the center of the target, then you’re good to go. However, if it doesn’t, then you must adjust it.
Make use of the windage and elevation knobs on the scope. These may be present on the bolt of the laser bore sights. Ensure the dot is in alignment with the reticle.
Once done, remove the bore right and insert back the ammunition. Test the weapon to see the results. Beginners often need to repeat the process a few times before they start bore sighting AR15 in a single go.
Also Read: Best Red Dot Sight for AR 15 with Fixed Front Sight
What’s Zeroing AR 15?
Before calling this guide off, let’s get one more confusion sorted. What is the difference between zeroing and bore sighting? Do you need to take separate measures for both?
Well, no. Not exactly. Zeroing refers to setting up your rifle such that the sights are aligned. And your aim is as accurate as possible. So, technically, it is a part of bore sighting.
Final Thoughts
Well, now that you know how to use a bore sight laser, we hope you’re hunting sessions prove to be more rewarding than ever! Just take care of the alignment and tools, and you shall ace the game. If you wish to learn about the installation process visually, click here to watch a super-comprehensive tutorial on boresight installation.
